 |
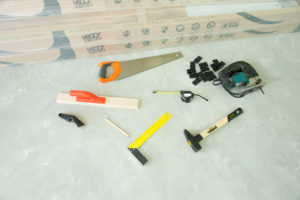
To install our flooring, the following tools will be needed:
– 1 kg hammer
– pull bar
– wooden tapping block
– hand saw or power saw
– measuring tape, pencil, knife |
 |
The wooden layered flooring can be installed on every dry and even substrate. Before the installation, the substrate must be vacuum cleaned and smoothed with a spatula |
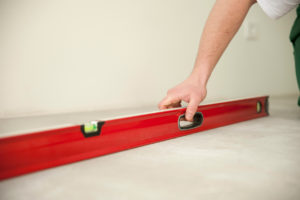 |
Check for all substrate level differences before installation. They should not exceed 1/8” (3 mm) for 6.56 ft (2 m) length. |
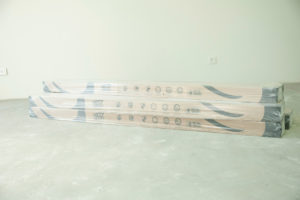 |
Please remember to condition the board in the factory packaging on site for at least 48 hours before its installation. During that time, the flooring will adjust to the installation and acclimatization conditions. |
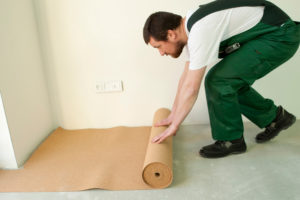 |
After vacuum cleaning the subfloor, you need to place the underlay upon which the floor will be laid down, e.g. natural cork in rolls. Remember to leave a distance of ca. 7/16” (10 mm) between the cork and the wall. Leave a distance of 0,08”-0,12” (2-3 mm) between adjacent cork mat strips. Other underlayment materials, e.g. pressed natural wood fiber boards, are handled likewise. When installing Barlinek brand flooring we recommend using Barlinek subfloor materials. Third-party subfloor materials can be used, so long as the directions for use enclosed by the manufacturer explicitly allow the use under floating engineered wood flooring. |
 |
The direction of the flooring is determined by the dimensions of the room and the direction of sunlight. If none of the walls is longer than 8 m, it is recommended to arrange the floor towards the light, i.e. parallel to the window letting the most sunshine in. In case of dimensions exceeding 26ft (8 m), or long and narrow spaces, e.g. corridors, the board should be always arranged along the longer side. |
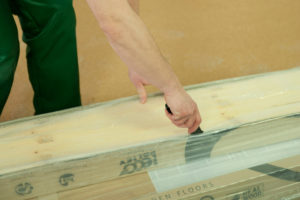 |
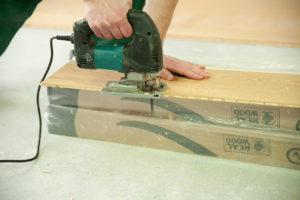
Cut the boxes with the boards from the bottom in order not to damage the top layer of the board. |
 |
Please remember that the wooden layered board is 100% wood and each of them looks unique. Before the installation, spread the boards and plan the pattern on the floor. After that you can start the installation.
|
 |
Cut away the tongue from the first strip of the floor, using the saw. This will allow proper execution of the expansion joint, or the wall gap.
|
 |
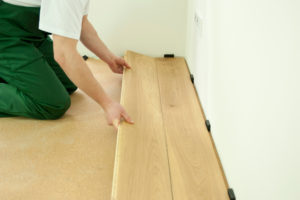
Place the first board, leaving a gap 7/16” (10 mm) from each wall thanks to the expansion joint wedges. |
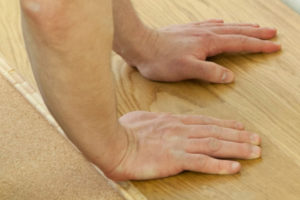 |
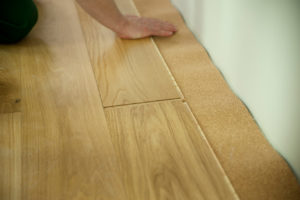
Attach the next board to the shorter edge and lower down. Press the shorter edge of the board with a hand, and the lock will close. |
 |
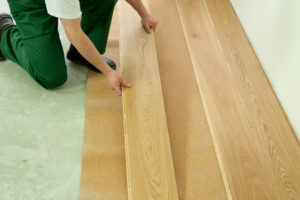
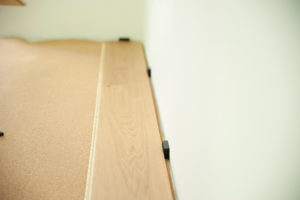
The cut portion of the board is used to start the second strip of the flooring. Insert it into the lock at the angle of 20°-30°. |
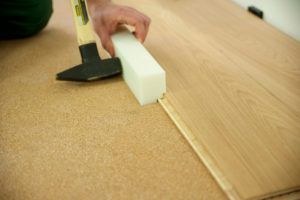 |
Using the tapping block, connect the board on its longer edge. |
 |
Proceed in the same way with the next strips of the floor. |
 |
To install the last strip of the floor, measure the necessary board width reduced by the expansion joint of 7/16” (10 mm) from the wall. |
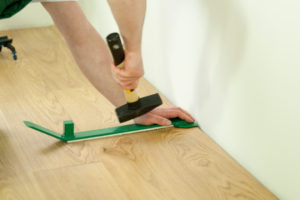 |
The board is joined by means of the pull bar. |
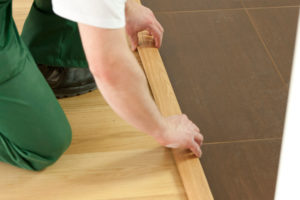 |
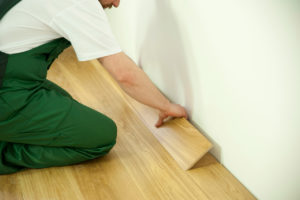
The expansion joint between ceramic tiles and the wooden floor, and in the door frame is masked with a special wooden strip. Installing the floor in the door frame, leaving the expansion joint is obligatory. |
 |
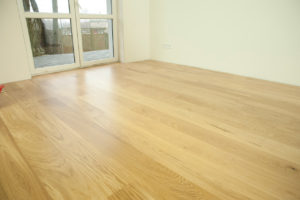
After the installation of moldings, the floor is ready to use. |